Photogravure Printing: A Photo Essay

We recently had the pleasure of trying out the photogravure printing process thanks to Stig Stasig, who was the guest of Episode 15 of this very show. He graciously permitted us to have the hands-on experience of printing an image, and it was a great time. Hands-on image making in almost any form is such a nice feeling, and a welcome break from computer based work. Photogravure printing is a mix of both modern and old techniques, and you can read about it on the show notes for the episode with Stig. It's quite fascinating. We also recommend listening to the talk with him, he speaks about the process and about the joys of working in that format.
We had a blast, and we took some pictures of the process in order to share it with you. The images are made with a sub-par iPod camera, but you'll get the idea. If you are in need of getting some prints made, Stig is your man. Be sure to check out his website, his work, and his services here.
Any digital image can be made into a photogravure. Here is the process:
First you print your digital file straight onto a copper polymer plate with a light sensitive coating. This is done in the dark, therefore we have no picture of this. Stig prints onto the plate with an Epson large format printer.
Afterwards, you expose the plate under a hefty UV light, like so:

Then you have to rinse the ink from the printer off the plate.

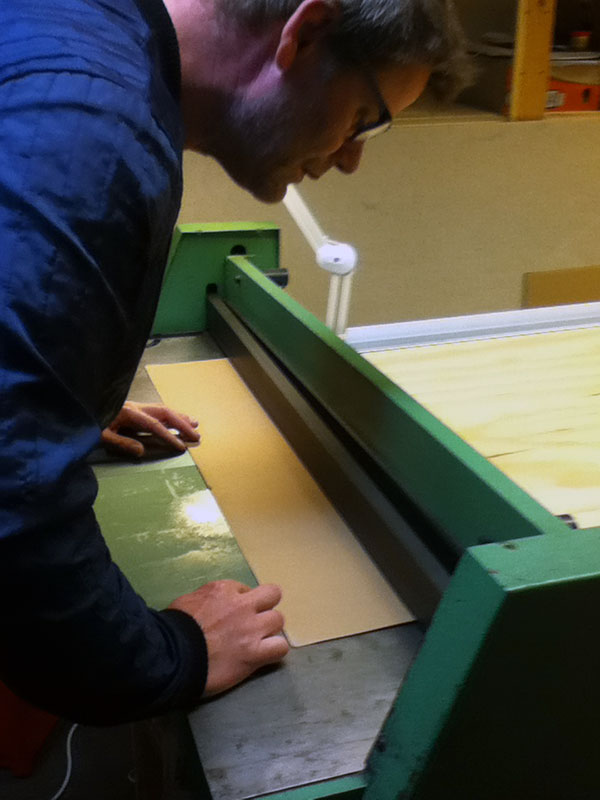
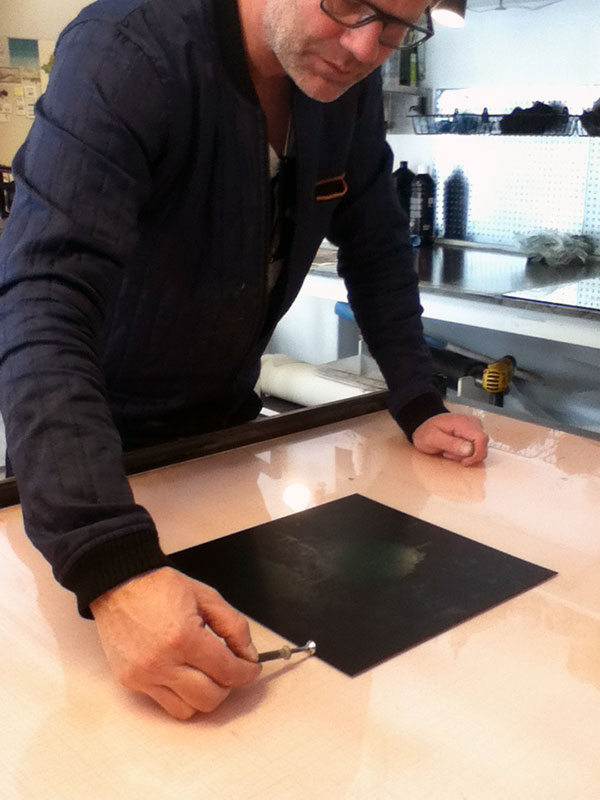
After a bit drying & hardening of the emulsion, you cut the excess metal off the plate.
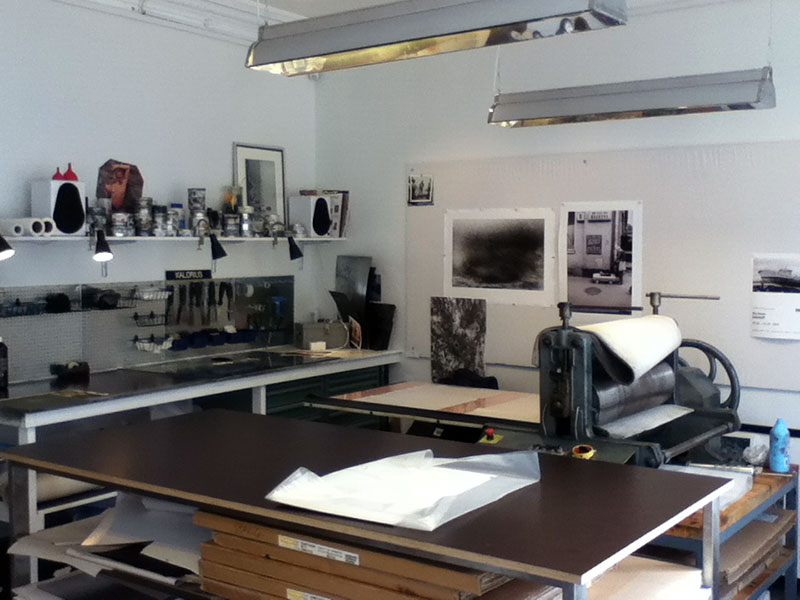
Now the fun begins. Time to get into the printing workshop. Nice huh?
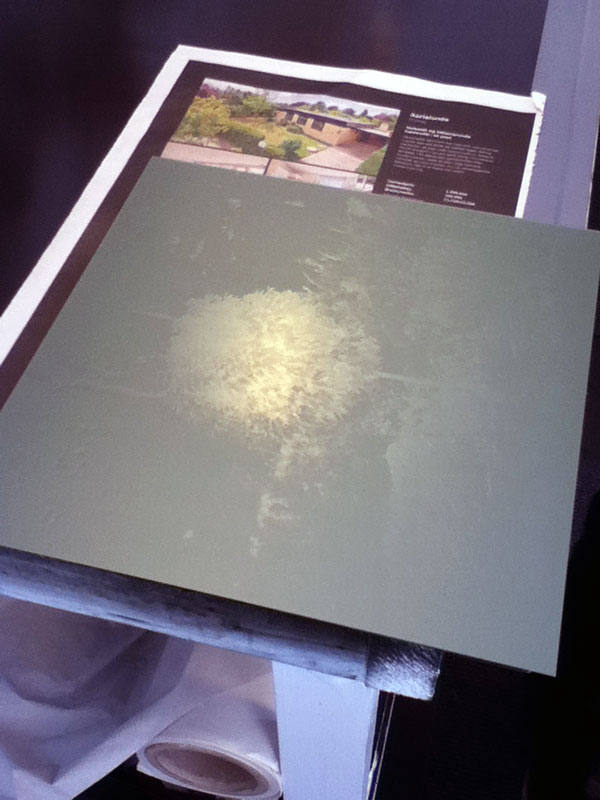
Here is the plate, cut, dry and ready to be inked. Notice the blank area around the bush in the middle, this is the black background (it's a night image), and it will be more or less filled with ink.
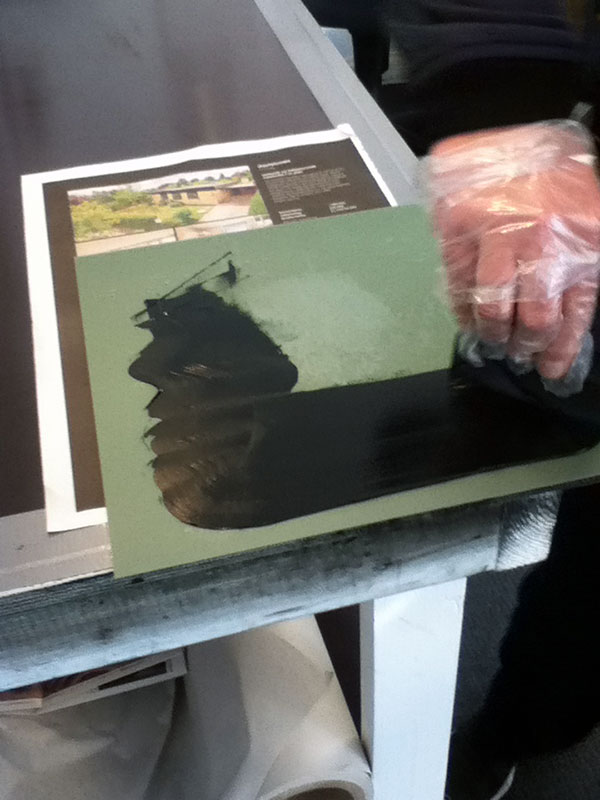
In the beginning you pull thick globs of ink across the plate, being sure to fill all the tiny holes in the plate which make up the image. Spread evenly, paying extra attention to the corners. Don't get ink on the underside, it will get all over the place if you do.
At this point you can't see any image on the plate, just a heavy layer of ink.
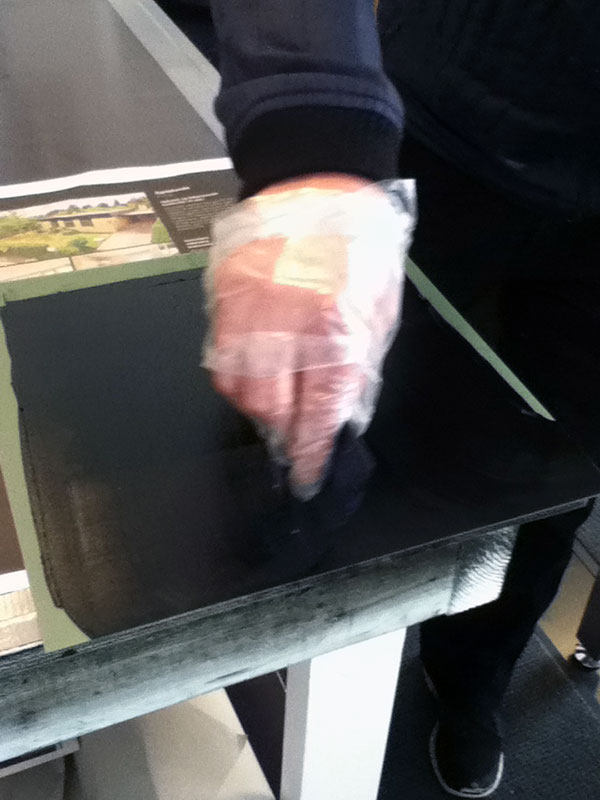
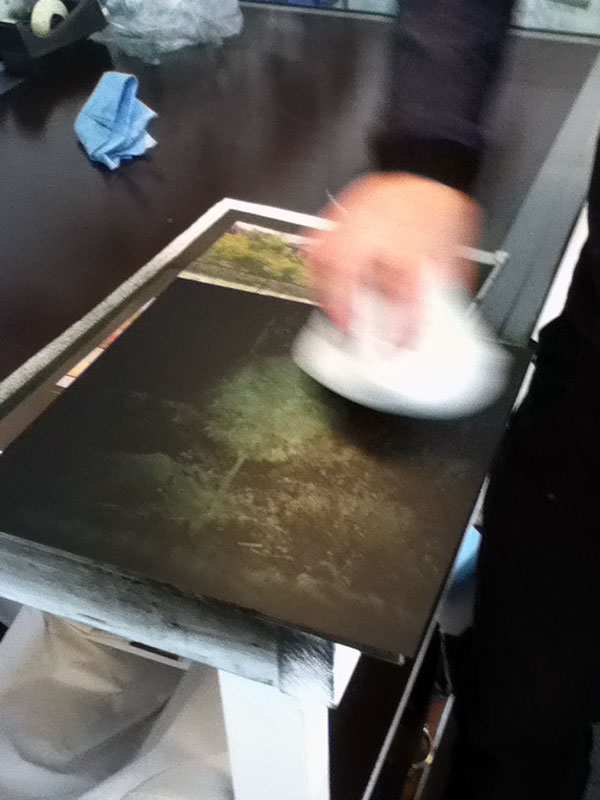
Then you start removing some the ink on the plate with a special type of gauze-like cloth. The point is to remove all the excess ink which is laying on top of the plate, leaving your highlights bright.
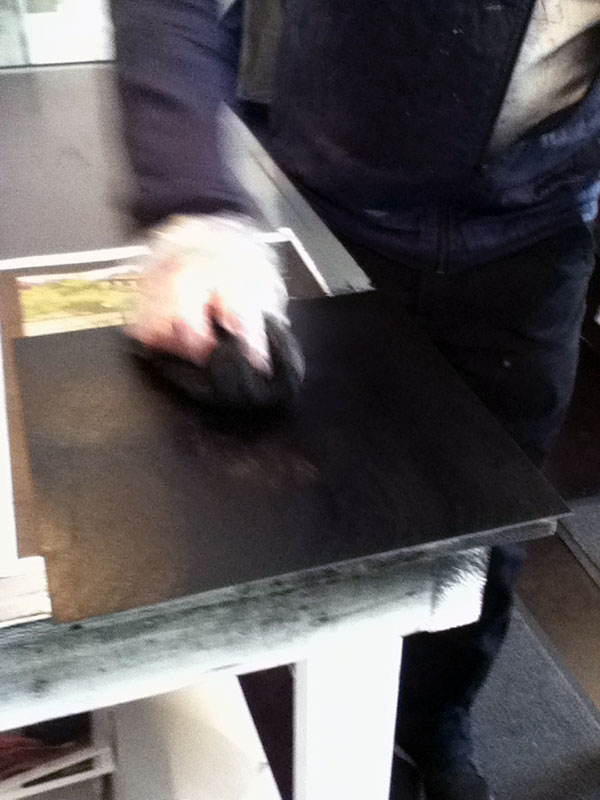
After several rounds of ink removal, your image starts showing up. You can see the dark background now is full of ink, and the highlights in the middle of the image are starting to be cleared of ink.
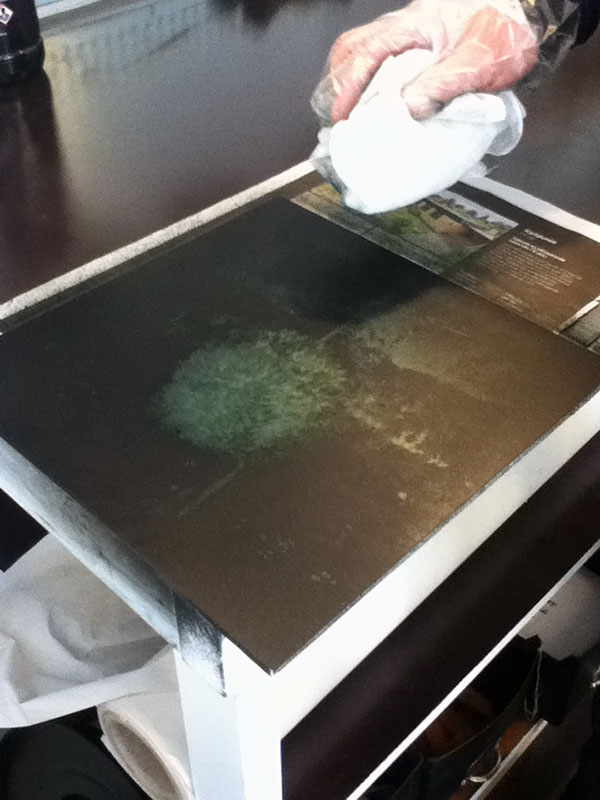
You switch to a softer cloth and polish your highlights, you want them to shine and give a nice contrast. This in one of the areas the printer makes decisions about the look of the final print.

There we have it, the inked plate ready to go.
Then it's go time. You lay the plate down on the press and make sure that it's perfectly straight. Really, really, perfectly straight.
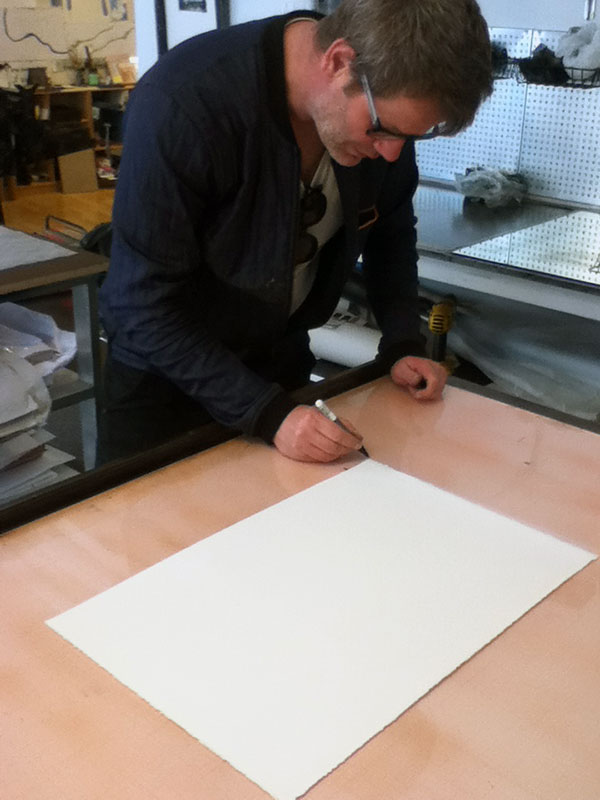
Then you put the (wet) paper on top of the plate. Perfectly, perfectly straight once again. If anything is crooked, it looks really silly.
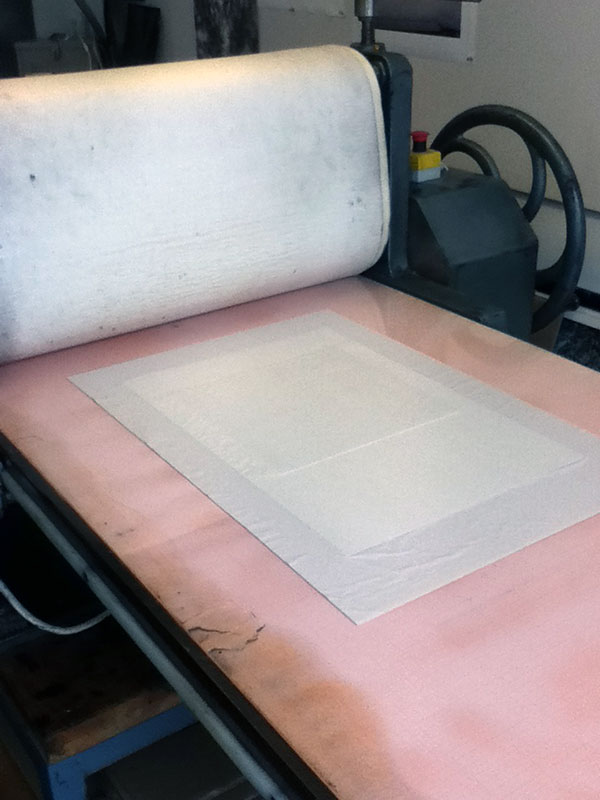
You put a thin sheet of paper on top of that, then the thick felt cloth over that, and then you put it through the press!
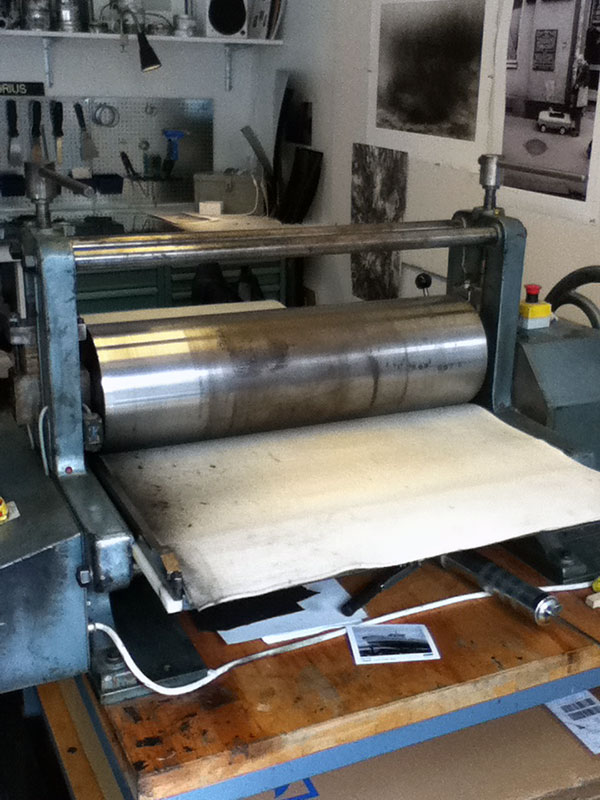
Here we go, through the press.

At this point it's like waiting for Christmas. Let's see this thing!

Holding your breath. And then...

There you have it. You pin it to the wall, step back and see what it looks like. This was the first one, so there was talk of making the highlights brighter and changing the color of the ink ever so slightly. One of the great things with photogravure printing is that you can make your own custom ink for each print. This one was black mixed with a little green. For example Olafur Elliasson made a series of works called the cartographic series with photogravures where each print had a different tint of color in the black. It's quite beautiful.
We kept printing all day and we got to try the whole process, and it's an incredibly intuitive and tactile experience. Like most printing, it's a fairly simple process which requires a lot of nuance and sensitivity to do it well. Photogravures are incredibly beautiful and have an incredible tonality, if you have the chance to have any made, do it.
Stig was a good teacher and very generous with his knowledge, so many thanks to him. He runs courses on the process and makes editions for artists here in Copenhagen. Be sure to check him out on his website stasig.dk, and listen to our episode with him!
